Priorities
Priorities allow you to express the relative importance of workstreams within a schedule. By assigning priorities, you can sort and filter schedules to focus on the most critical work first and ensure that limited resources are allocated where they have the greatest impact.
Creating and editing priorities
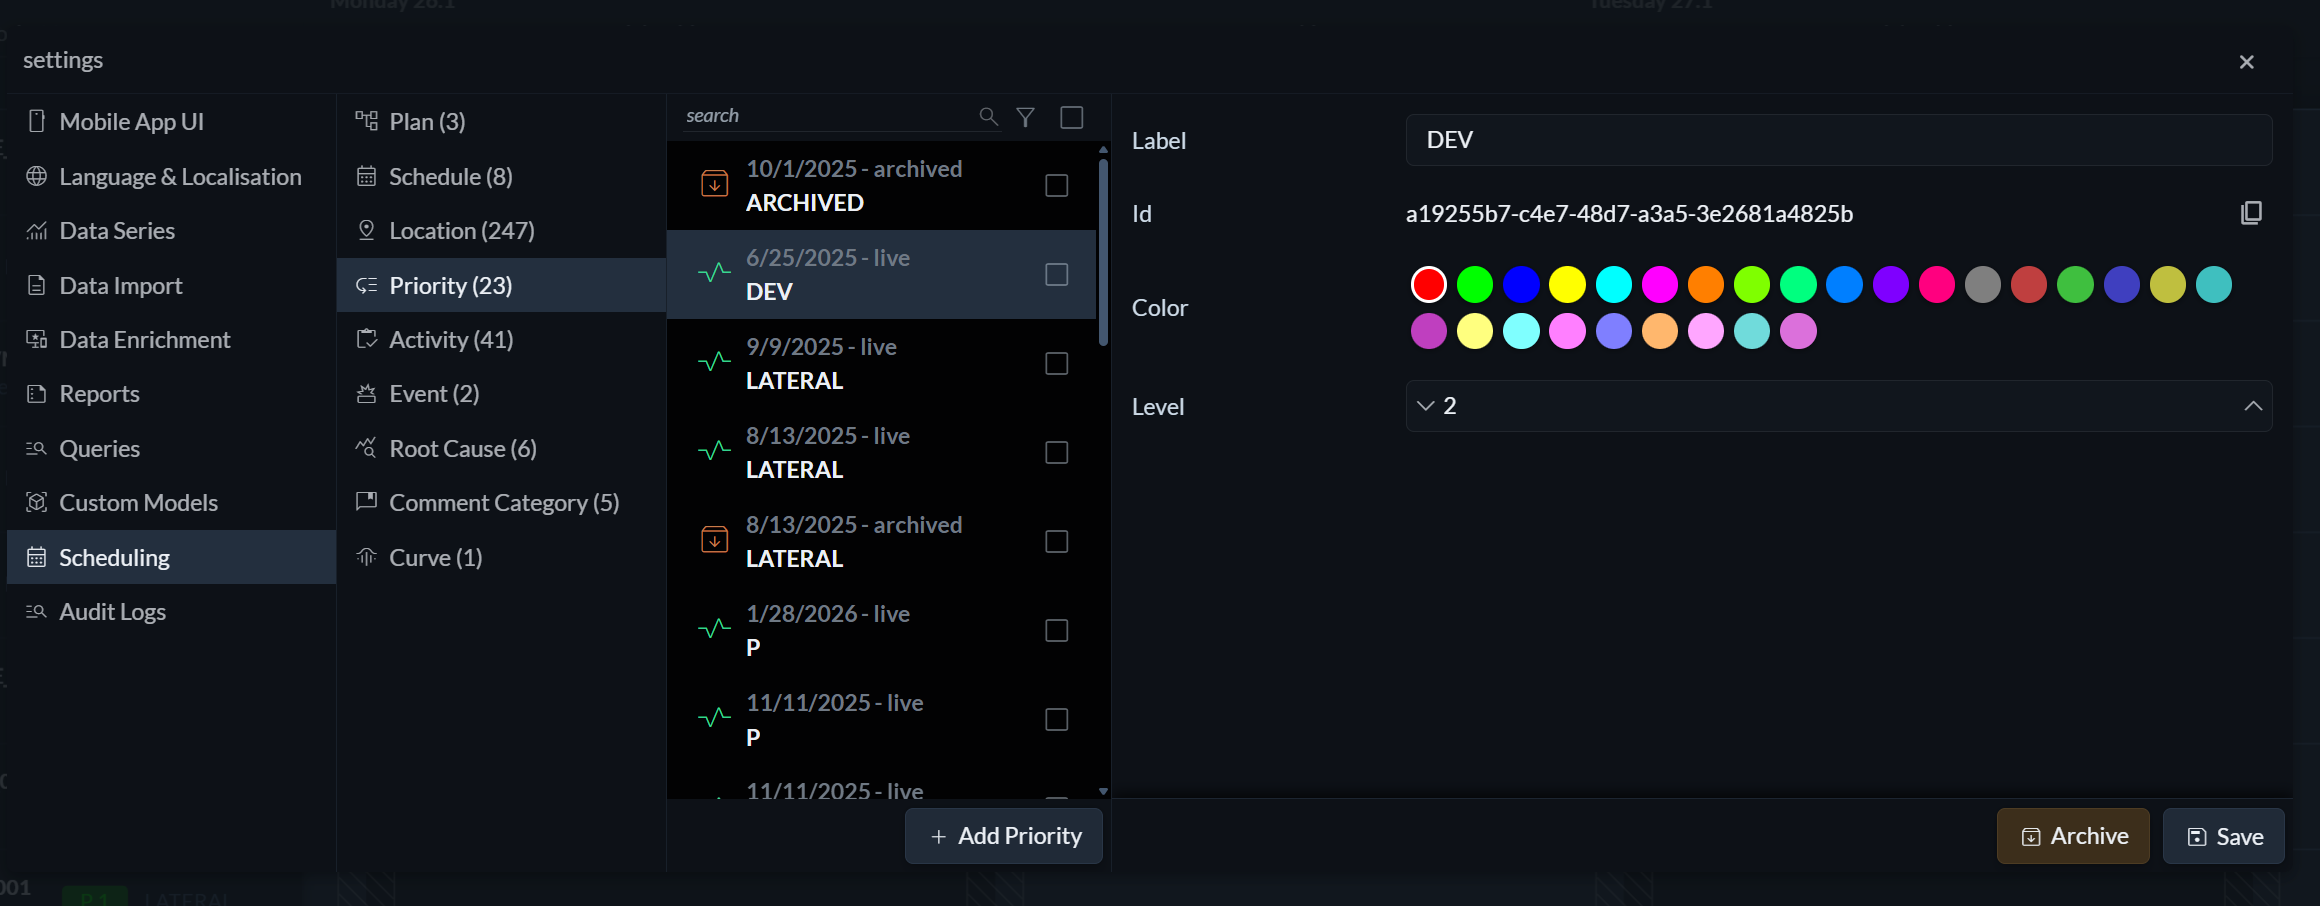
To create or edit priorities, open the Settings menu (the three horizontal lines on the right) and navigate to Scheduling → Priority.
Each priority consists of a label, a colour, and a level. The combination of label and level determines the ordering of priorities. For example, you might define priorities such as Production 1, Production 2, and Development 1 to clearly express both category and importance.
Applying priorities

Priorities are applied at the track level. To assign or change a priority, open the add or edit track menu by clicking on a track. From there, you can apply a priority when creating a new track above, below, or as a child, or when editing an existing track.
Filtering by priority
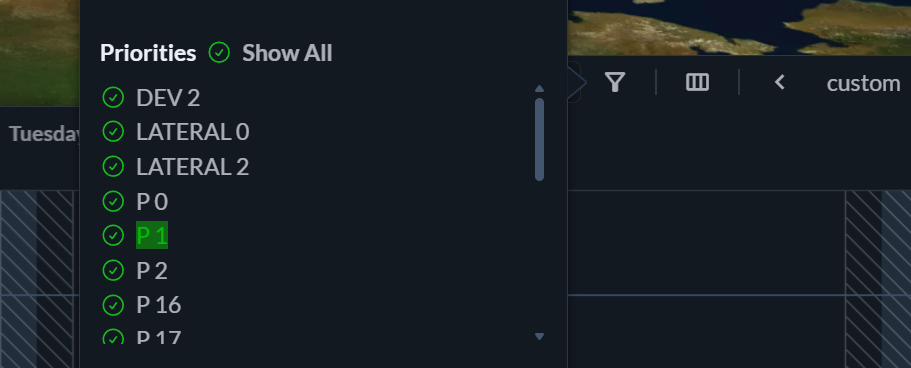 To filter the schedule by priority, click the filter icon in the top-right corner of the scheduling panel and select the priorities you want to display.
Sorting by priority
 In table view, schedules can be sorted by priority. Click the sort icon and select Priority to order workstreams according to their assigned importance.