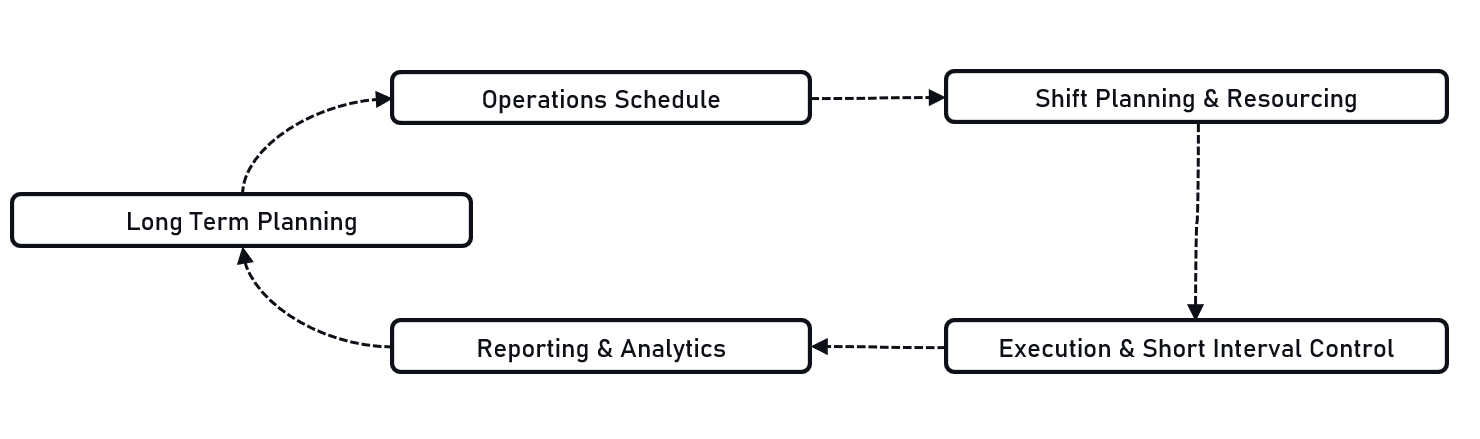
Plans - Import & Application
Plans allow you to import long-term planning data and targets from third-party systems such as Deswik.SCHED, Micromine Alastri, Datamine Minescape, Hexagon MinePlan, and others. These plans typically describe high-level operational intent over extended timeframes.
Once imported, you define how these high-level activities should be broken down into actionable steps, which locations they apply to, and how priorities should be interpreted. Based on this information, Hivekit automatically generates shift-level schedules with concrete tasks and measurable goals that align with your long-term planning objectives.
Each generated task retains a reference to its original planning goal. After execution, tasks and their recorded metrics can be reconciled with the long-term plan. This creates a continuous feedback loop between strategic planning, short-term scheduling, shift execution, metric collection, and plan reconciliation, enabling systematic and data-driven improvement.
Importing a plan
Hivekit supports several export formats from common mine planning software, most commonly large CSV files. To import a plan, open the Settings menu (the three horizontal lines on the right) and navigate to Scheduling → Plan. Then click + Import Plan at the bottom of the centre column.
This opens the import wizard, which guides you through the process step by step.
Step 1: File Import
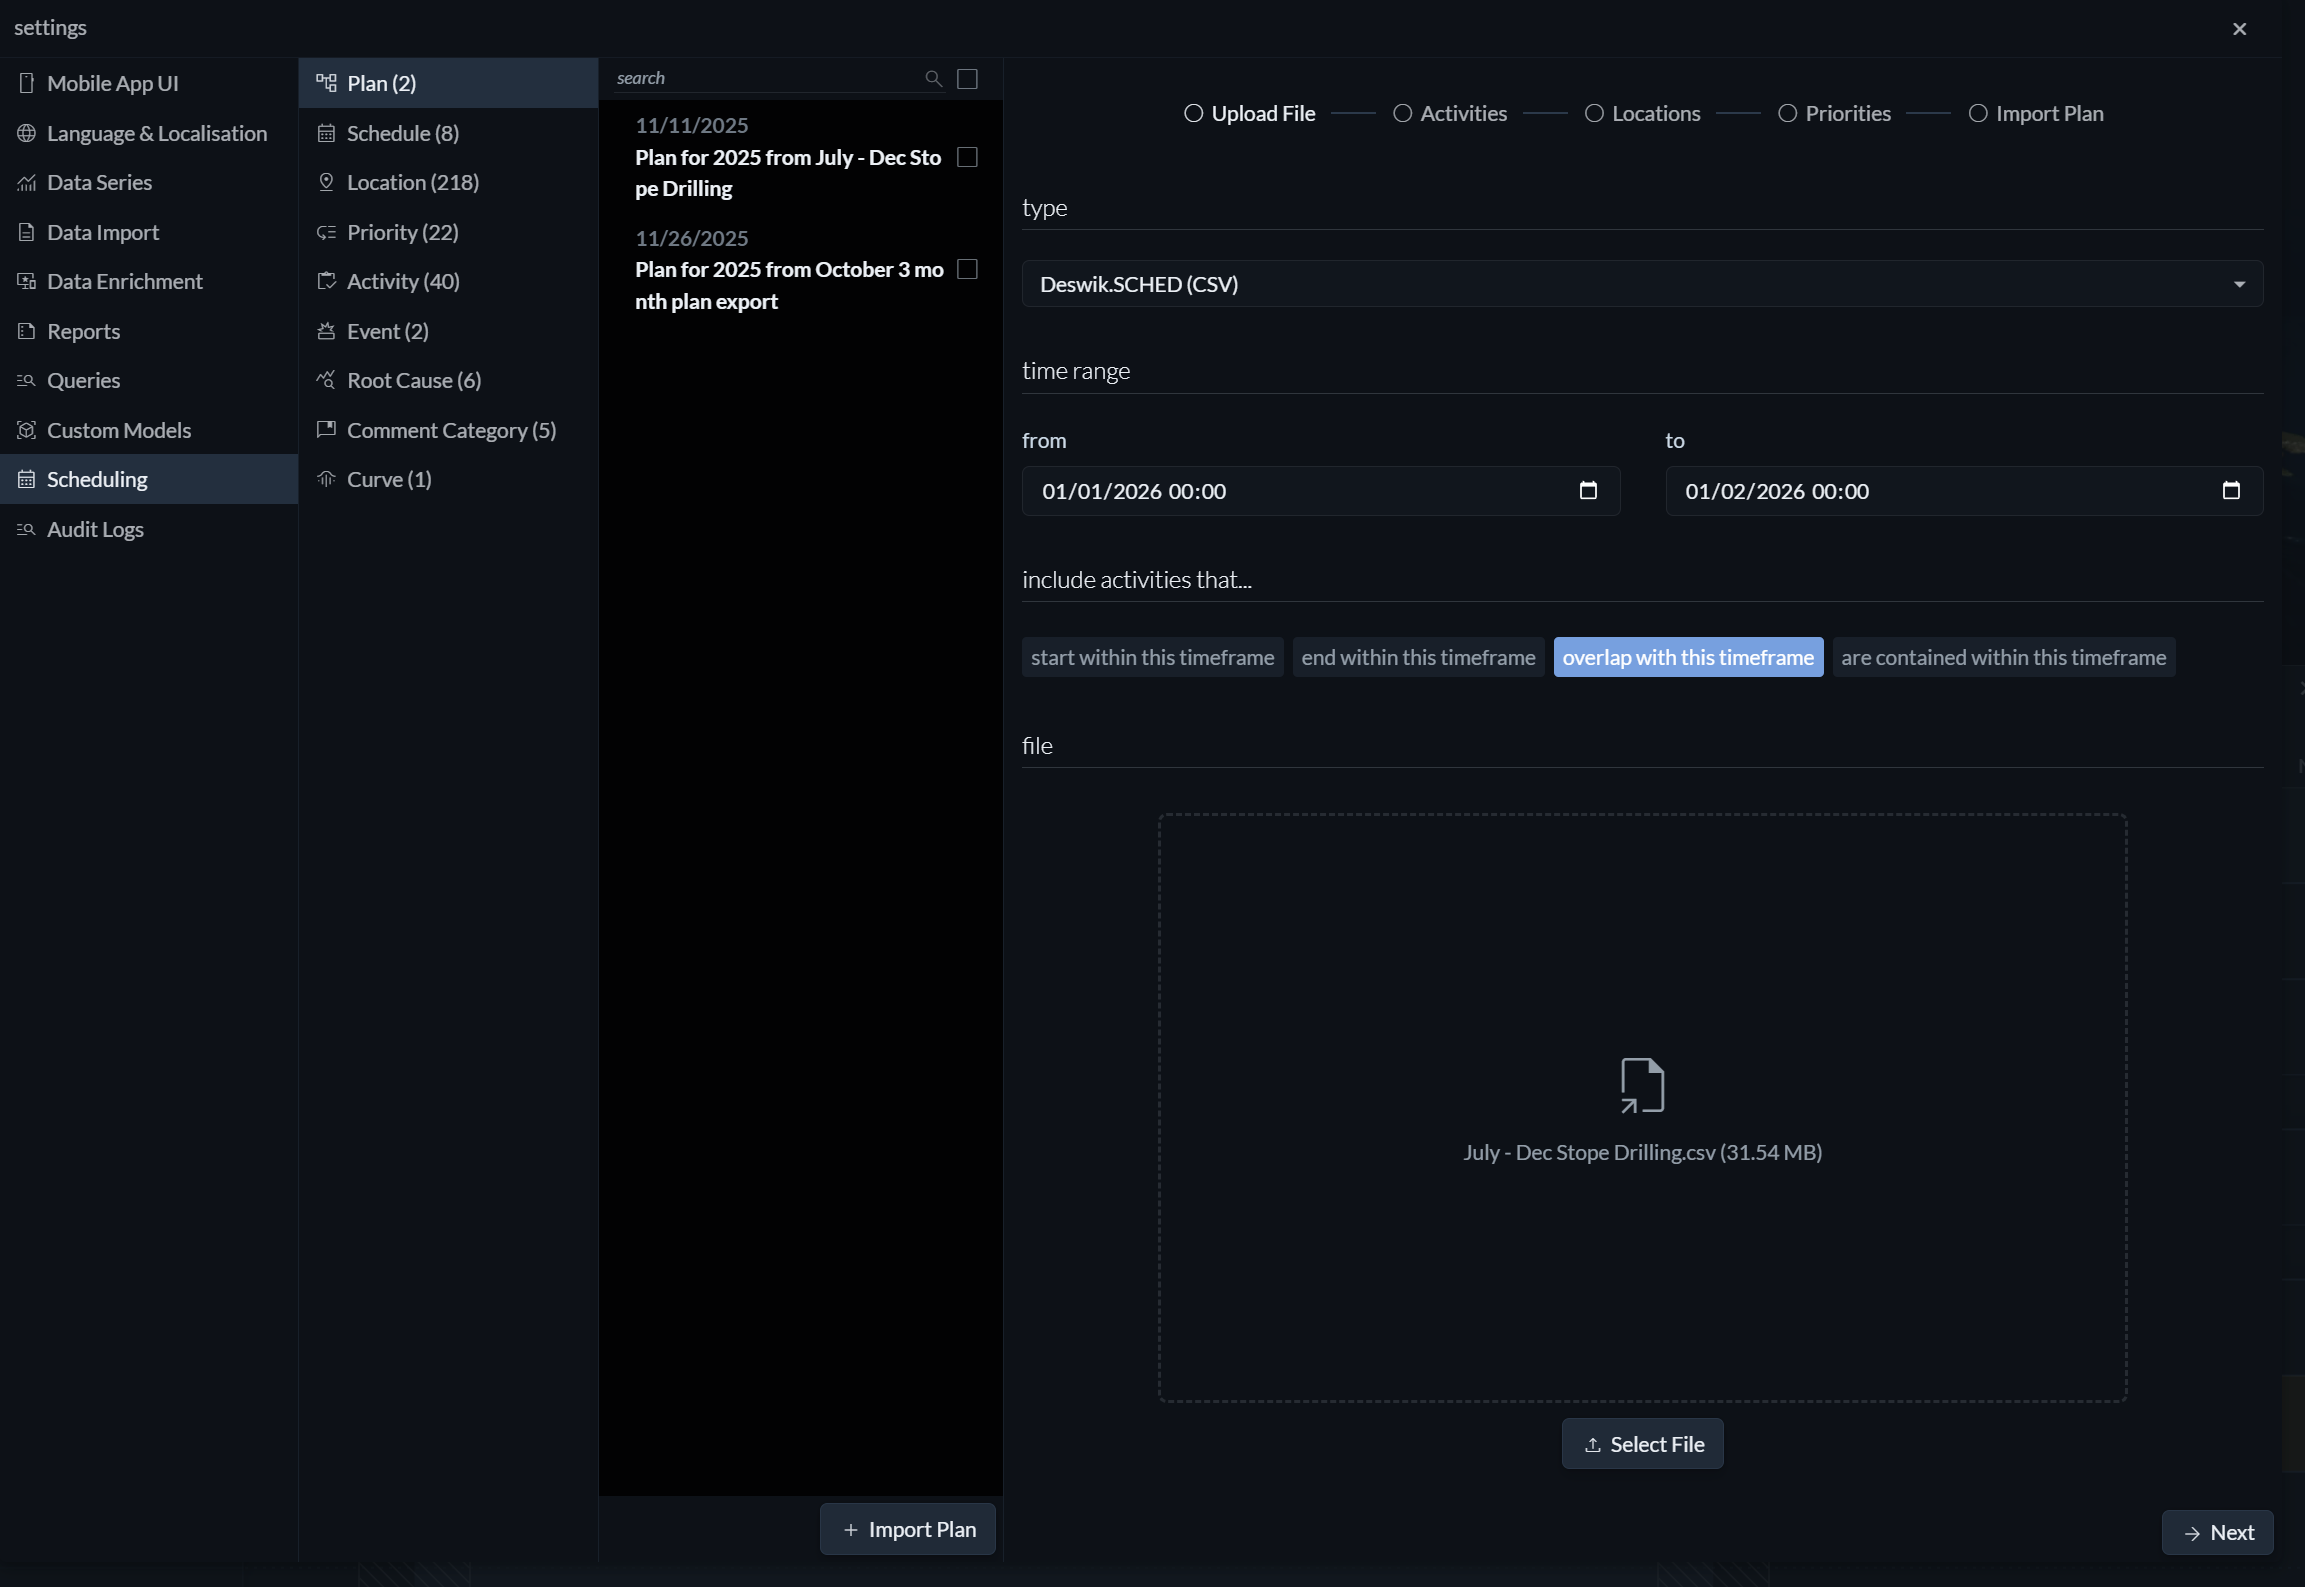 When importing a plan, you will be asked to configure the following options.
Type
Select the planning software from which the file was exported. This allows Hivekit to interpret the file structure correctly.
Time range
Choose the start and end dates for which planning data should be imported.
Include activities that…
Specify how activities relate to the selected time range. You can choose to import activities that start within the range, end within it, overlap it, or are fully contained within it (both start and end dates fall inside the range).
This setting is particularly important when plans are refined and re-imported over time. To avoid importing the same targets multiple times, we recommend consistently choosing either starts within or ends within for all imports.
File
Finally, drag and drop the exported file into the upload area, or click Select file to choose it manually.
Once the import is complete, Hivekit will guide you through mapping and breakdown steps to turn the high-level plan into executable schedules.
Step 2: Activity mappings
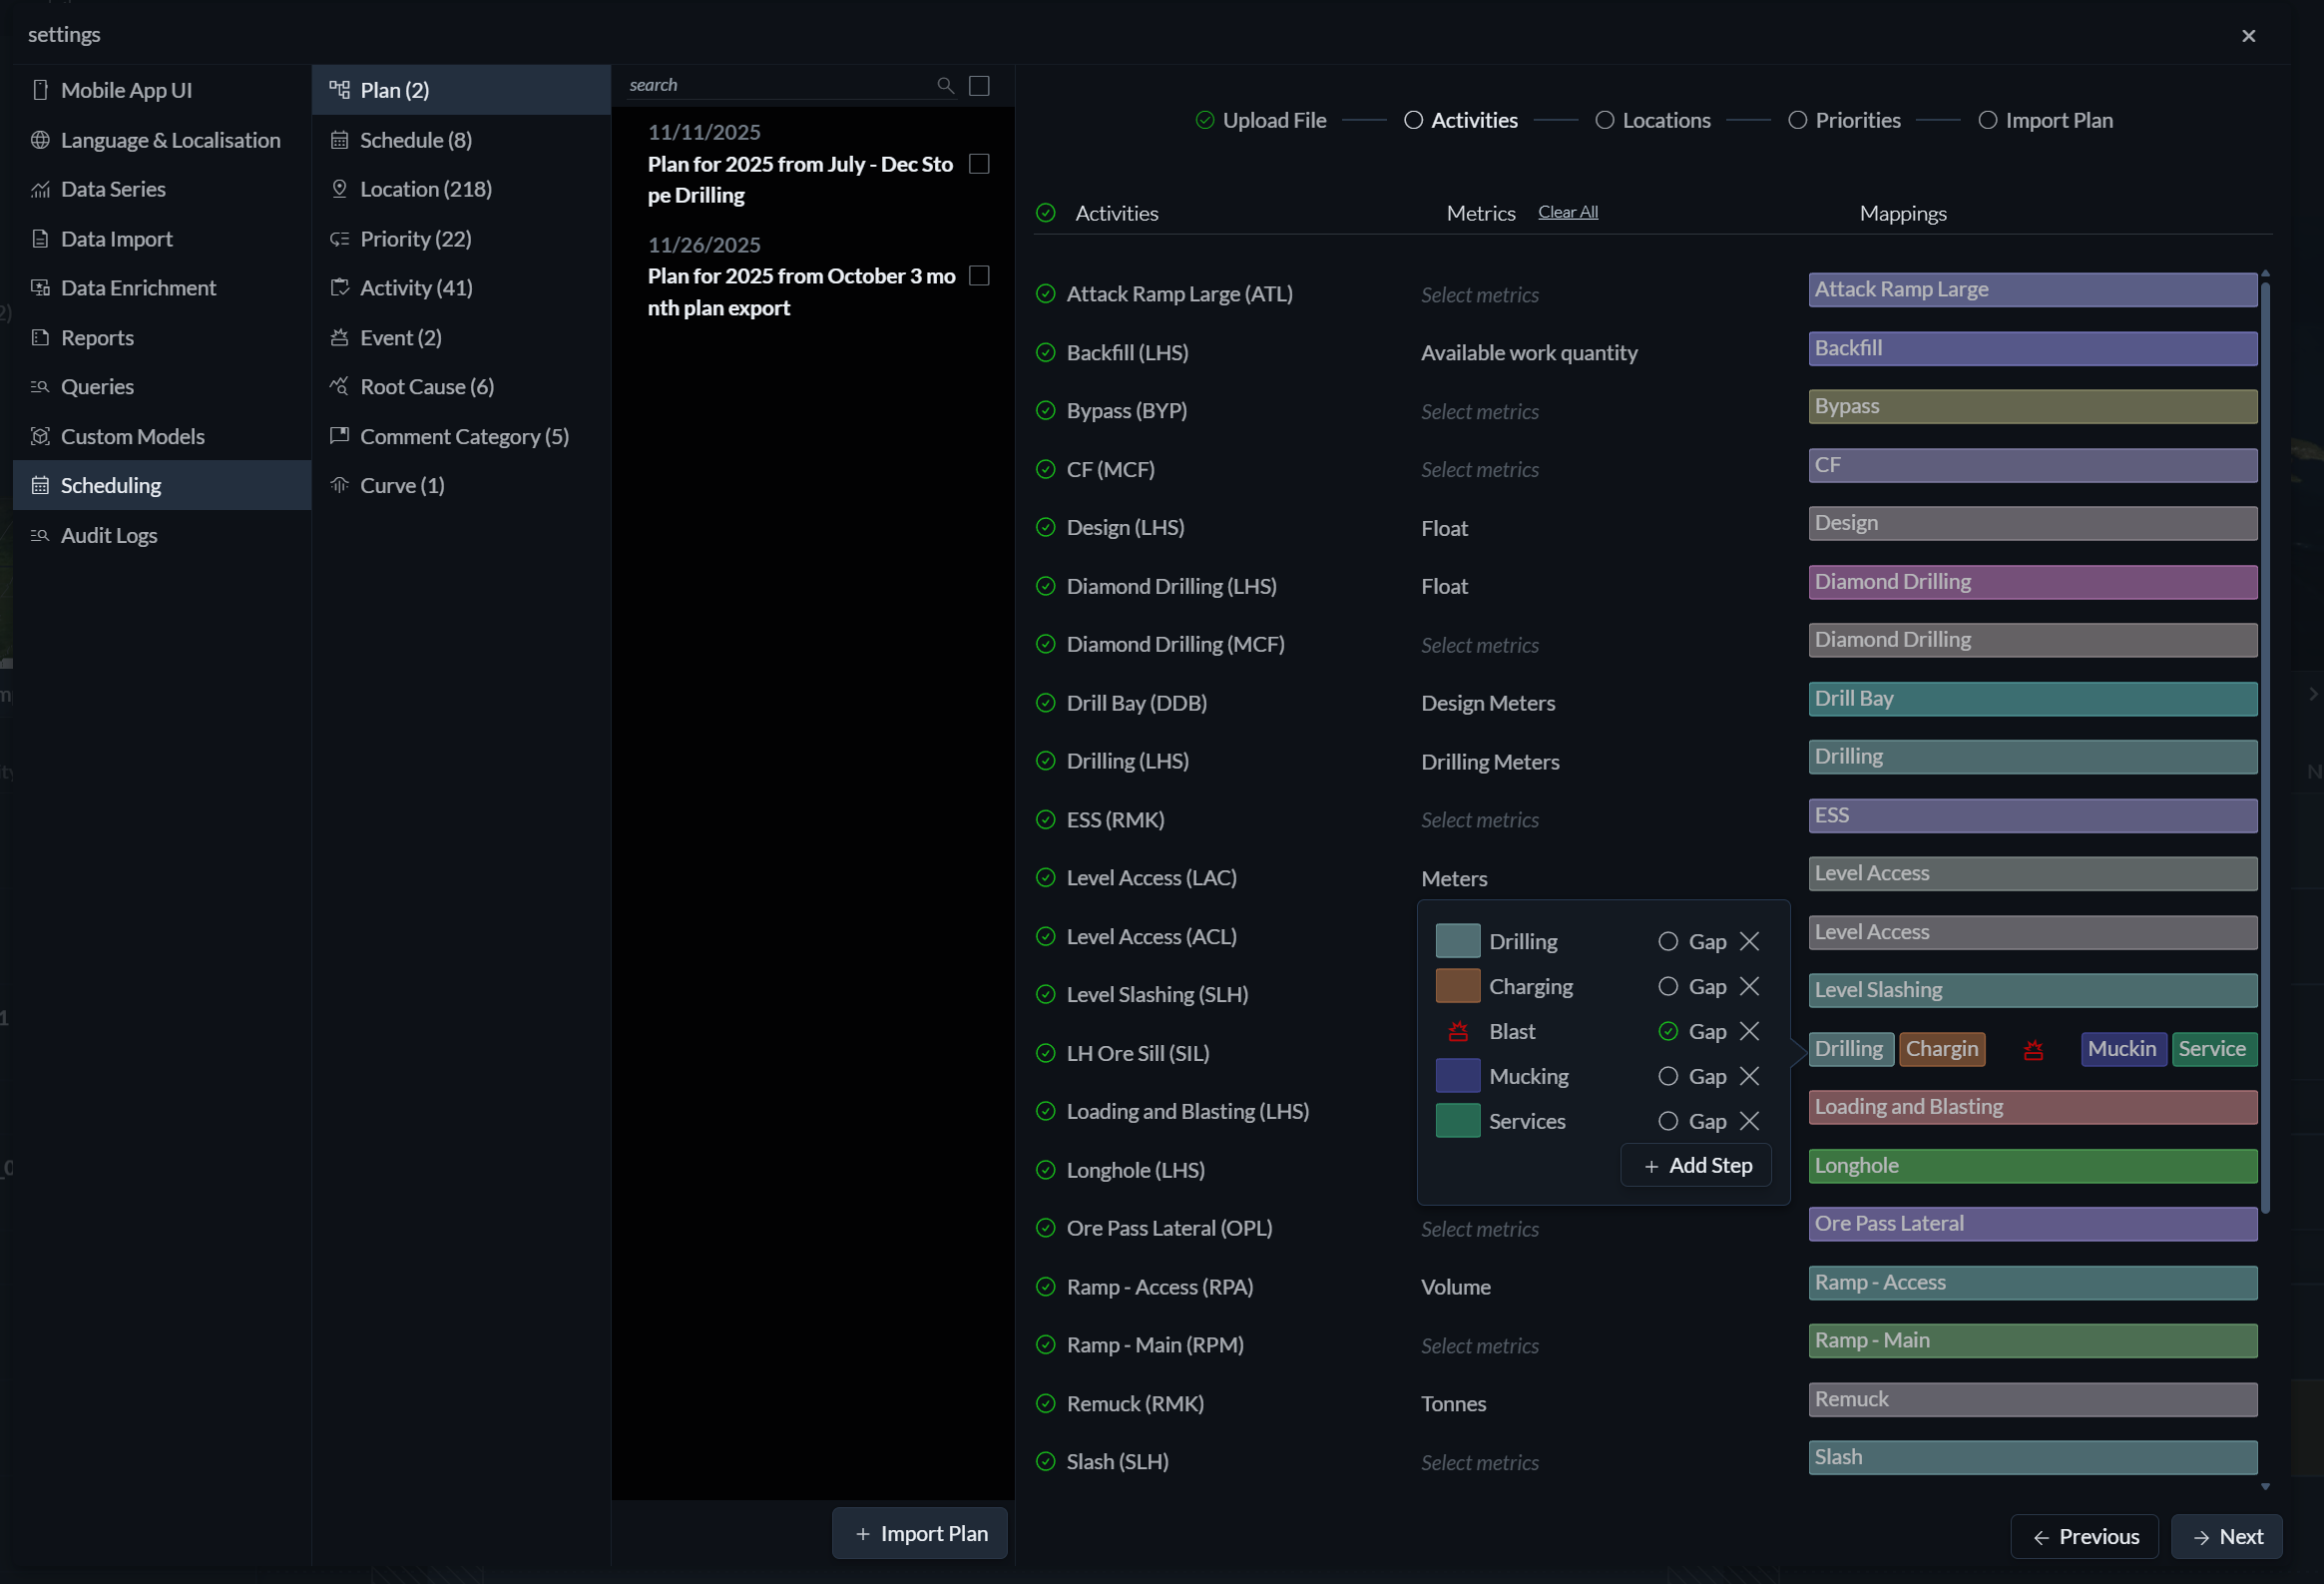 Once a plan has been imported, Hivekit analyses the planning file and extracts the activities it contains. For each long-term planning activity, Hivekit automatically creates a corresponding scheduling activity, unless an activity with the same name already exists.
On subsequent imports, Hivekit uses the main metric defined for each activity to interpret the plan. It evaluates the activity’s value or rate formula to calculate capacity and then lays out the plan accordingly. If the required targets cannot be achieved within the available time given the current rates, Hivekit highlights these tasks so that capacity constraints become immediately visible.
For each activity in the imported plan, you decide how it should be handled in scheduling.
Import as activity You can choose whether the activity should be imported at all by enabling or disabling the checkbox on the right.
Select Metrics You define which metrics should be tracked for the activity by selecting from the list of available metrics.
Map to cycle steps You specify which steps should be performed. Activities in long-term planning tools are often high-level and coarse-grained, such as “advance 60 metres on this heading”. By selecting an activity, you can map this strategic activity to multiple operational steps, for example a drill–charge–blast–muck cycle. For each mapped step, you can also choose Gap, indicating that this step should be placed into a shift gap rather than scheduled as productive work.
When a strategic activity is mapped to multiple steps, Hivekit needs to determine how long each step should be scheduled. To do this, it looks for sub-steps whose main metric matches the strategic target metric, such as “metres”. These steps are extended or repeated as needed to achieve the desired total quantity. Sub-steps that do not carry the target metric are scheduled using their default duration.
This approach allows high-level planning goals to be translated into realistic, executable schedules while preserving the intent and constraints of the original plan.
Step 3: Locations
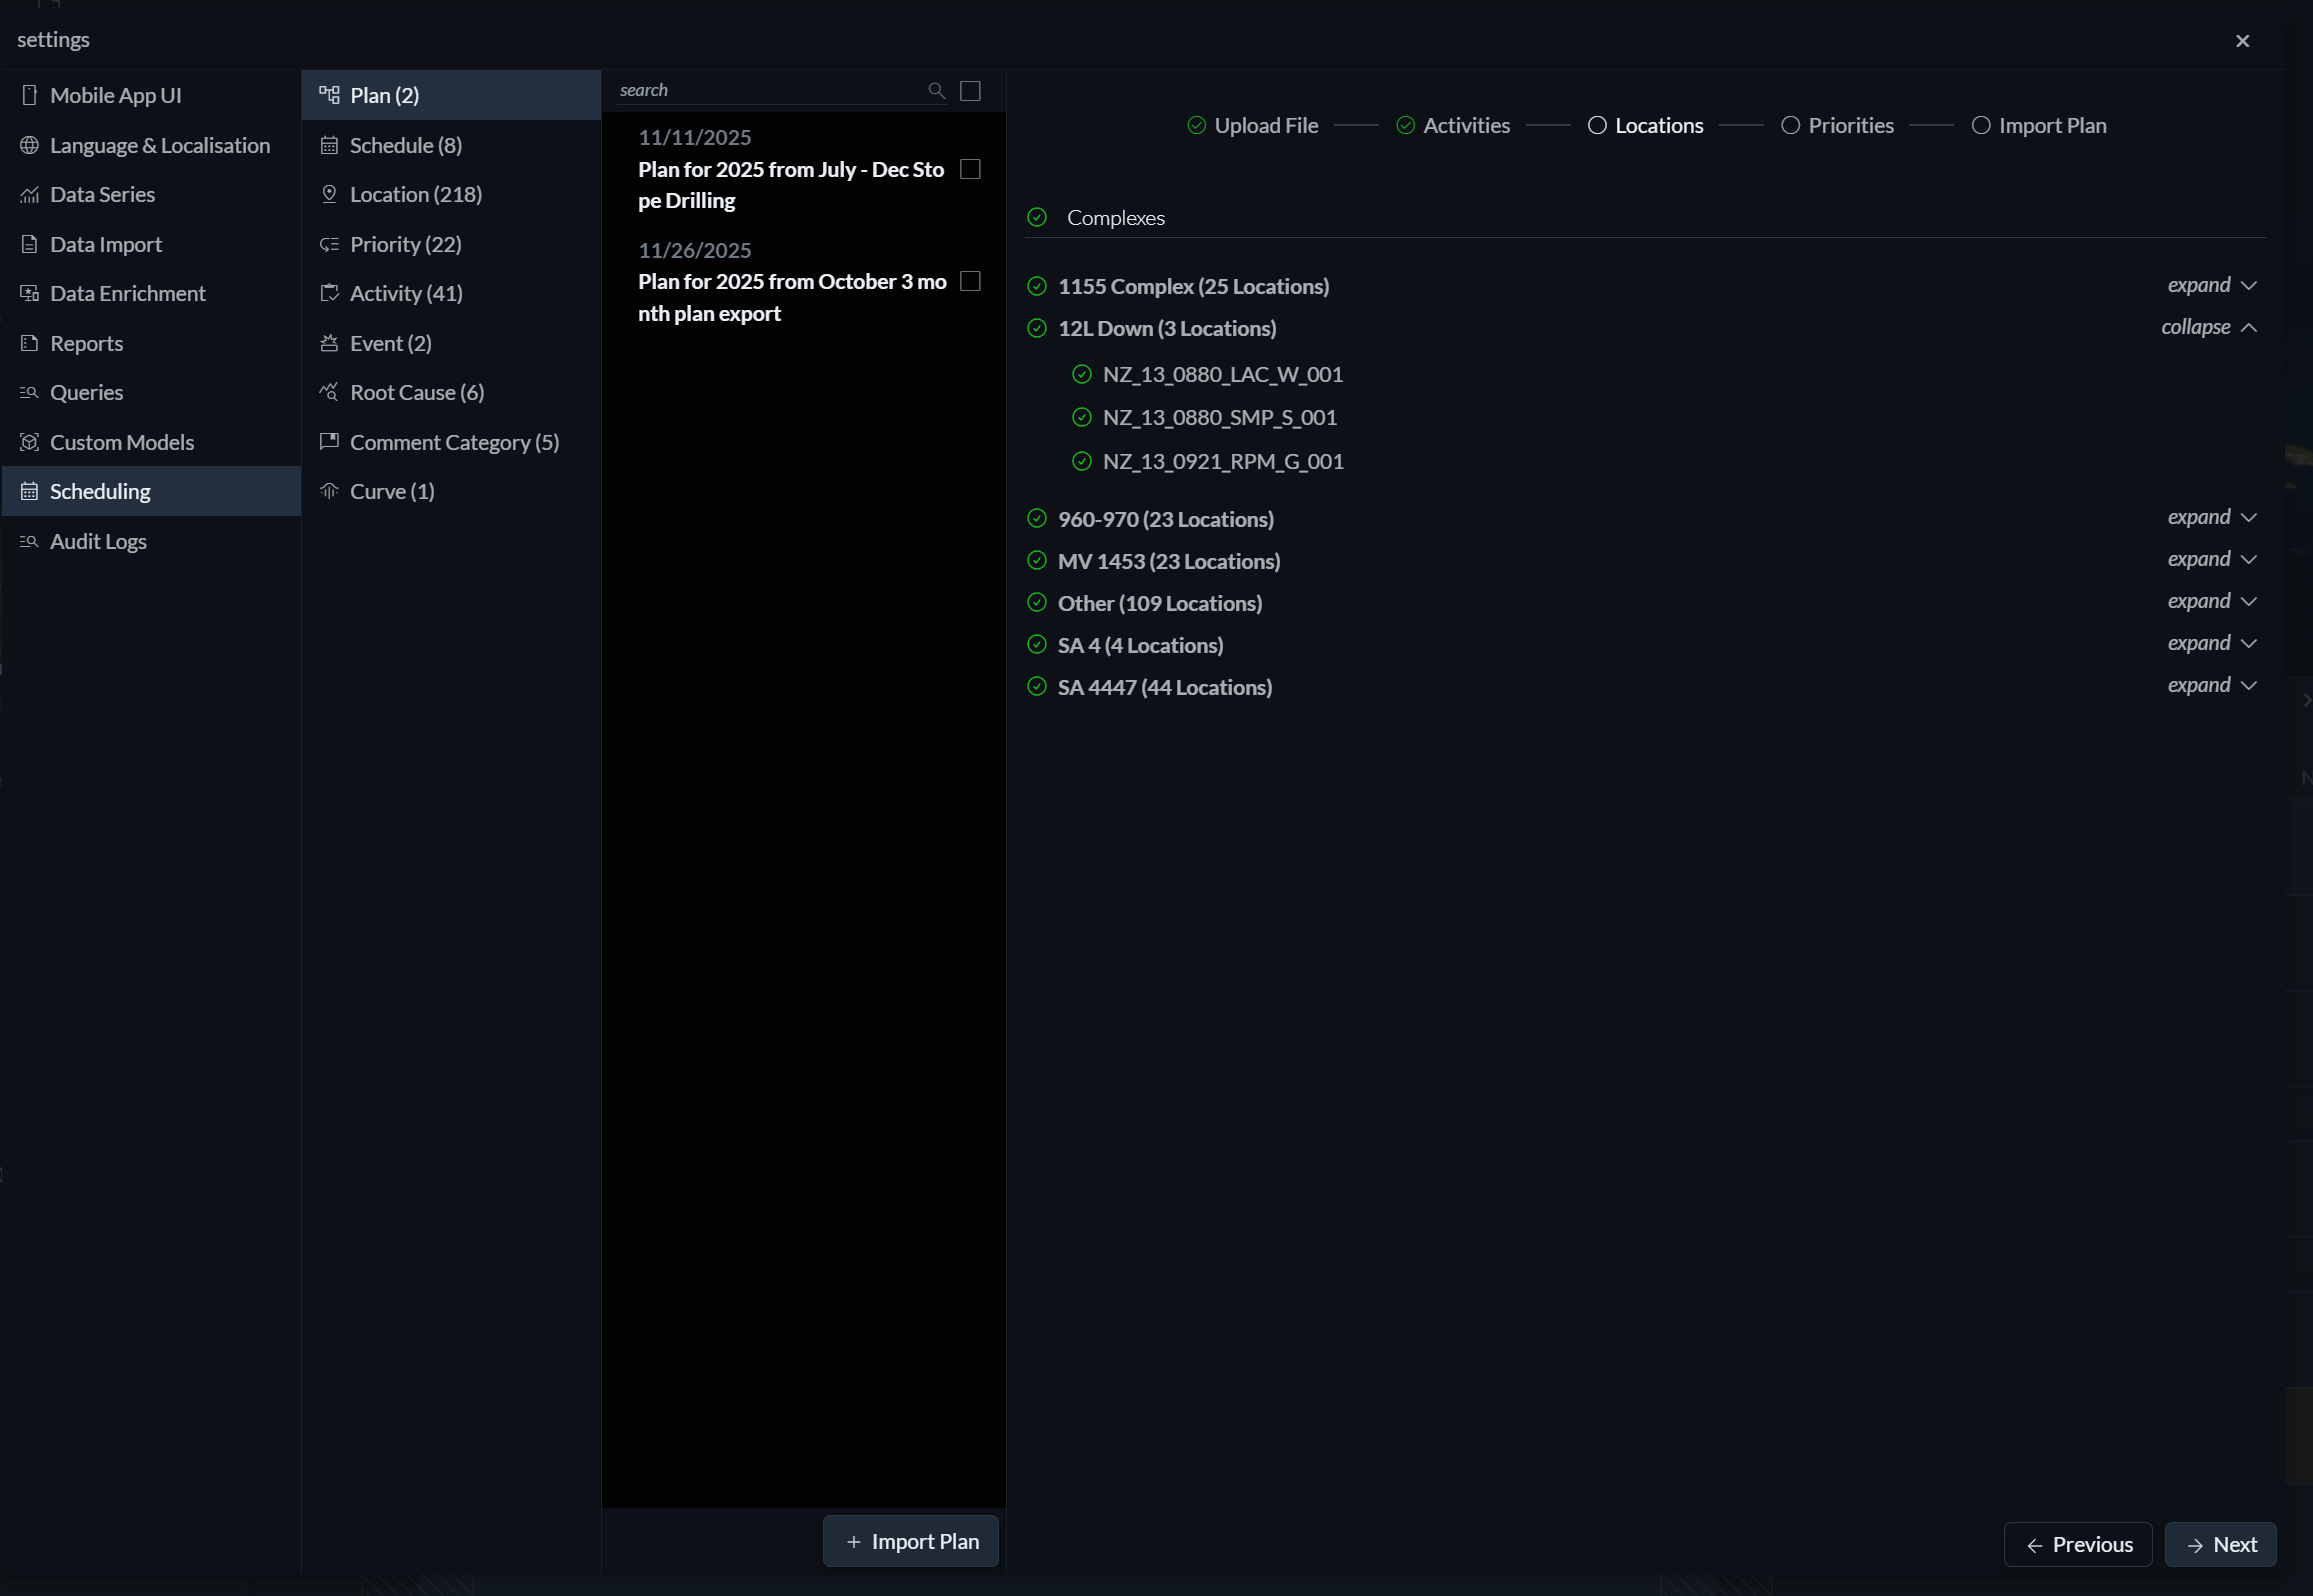
In this step, you select which complexes (location groups) and which individual locations within them should be imported. Hivekit automatically creates any missing locations, imports their associated metadata, and—when the plan is applied to a schedule—creates hierarchical tracks for each complex and location.
This ensures that the structural context of the long-term plan is preserved and reflected consistently in the resulting schedules.
Step 4: Priorities
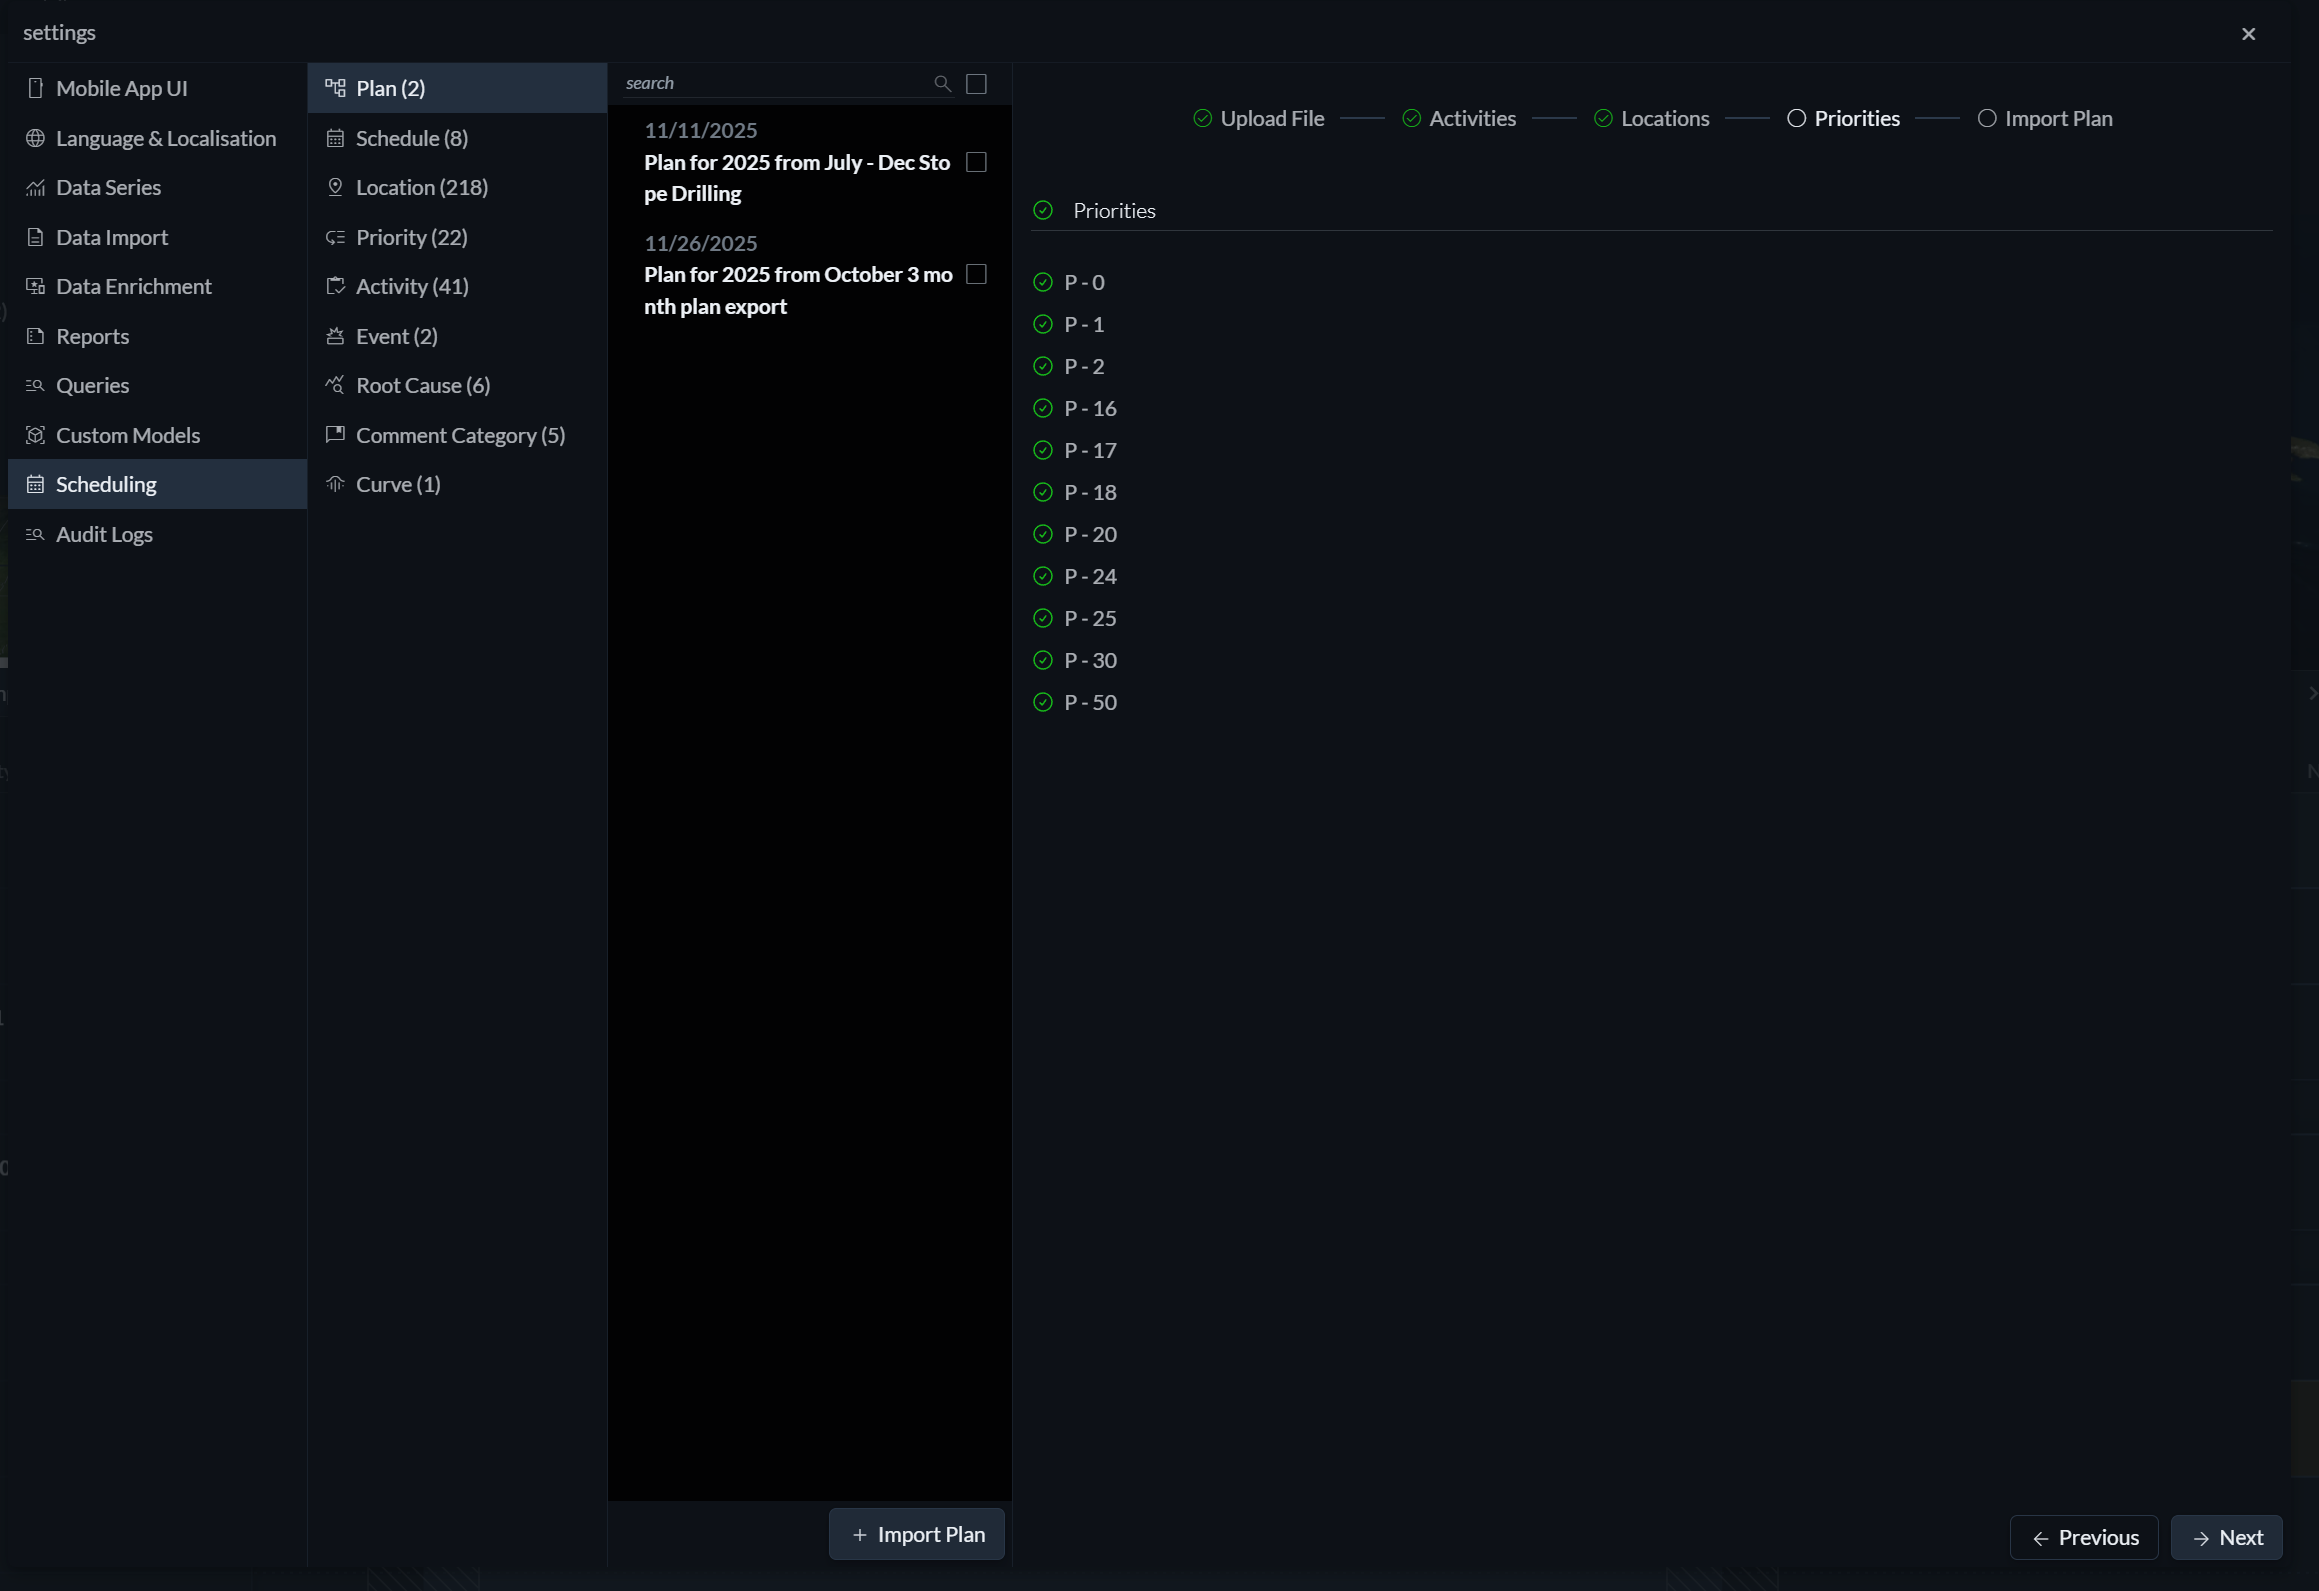
Here, you choose which priorities from the planning data should be imported. Imported priorities are automatically assigned to the corresponding tracks and locations, allowing scheduling decisions to reflect the intended operational importance and sequencing defined in the long-term plan.
Step 5: Labelling
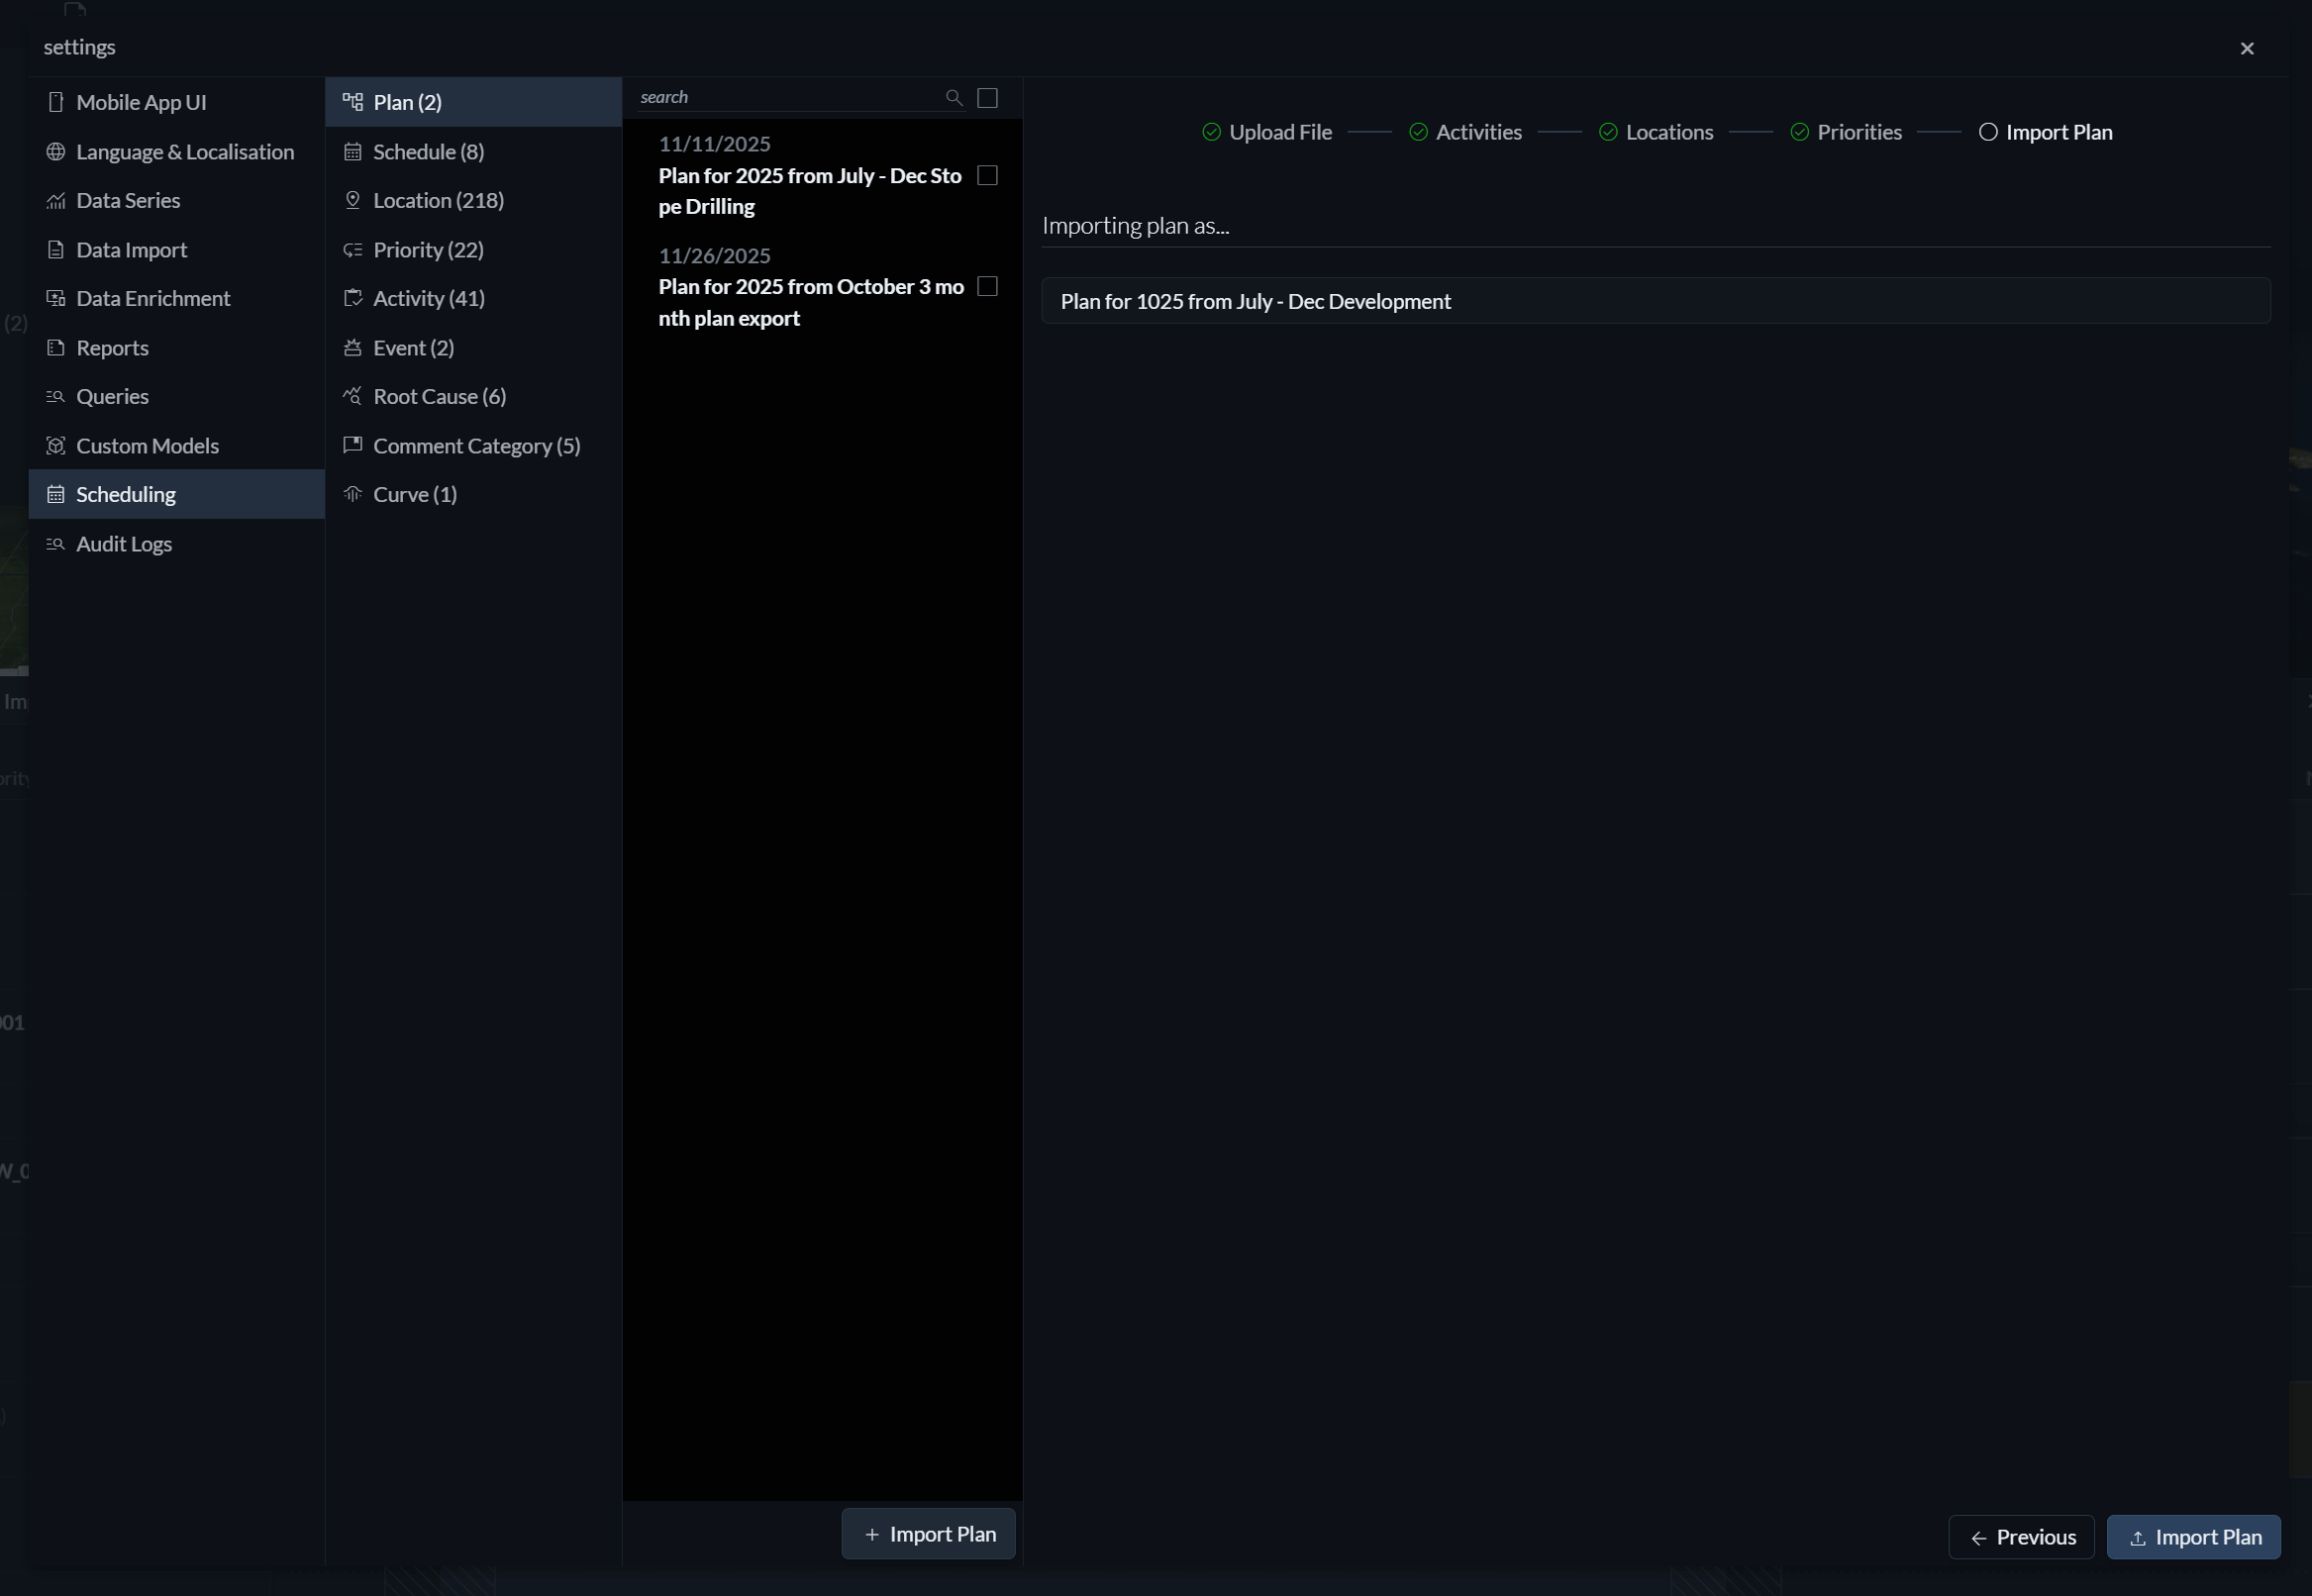
Finally, you can assign a name to the plan or accept the default label. This label is used to identify the plan throughout Hivekit and when applying or reverting it later.
Applying a plan to a schedule
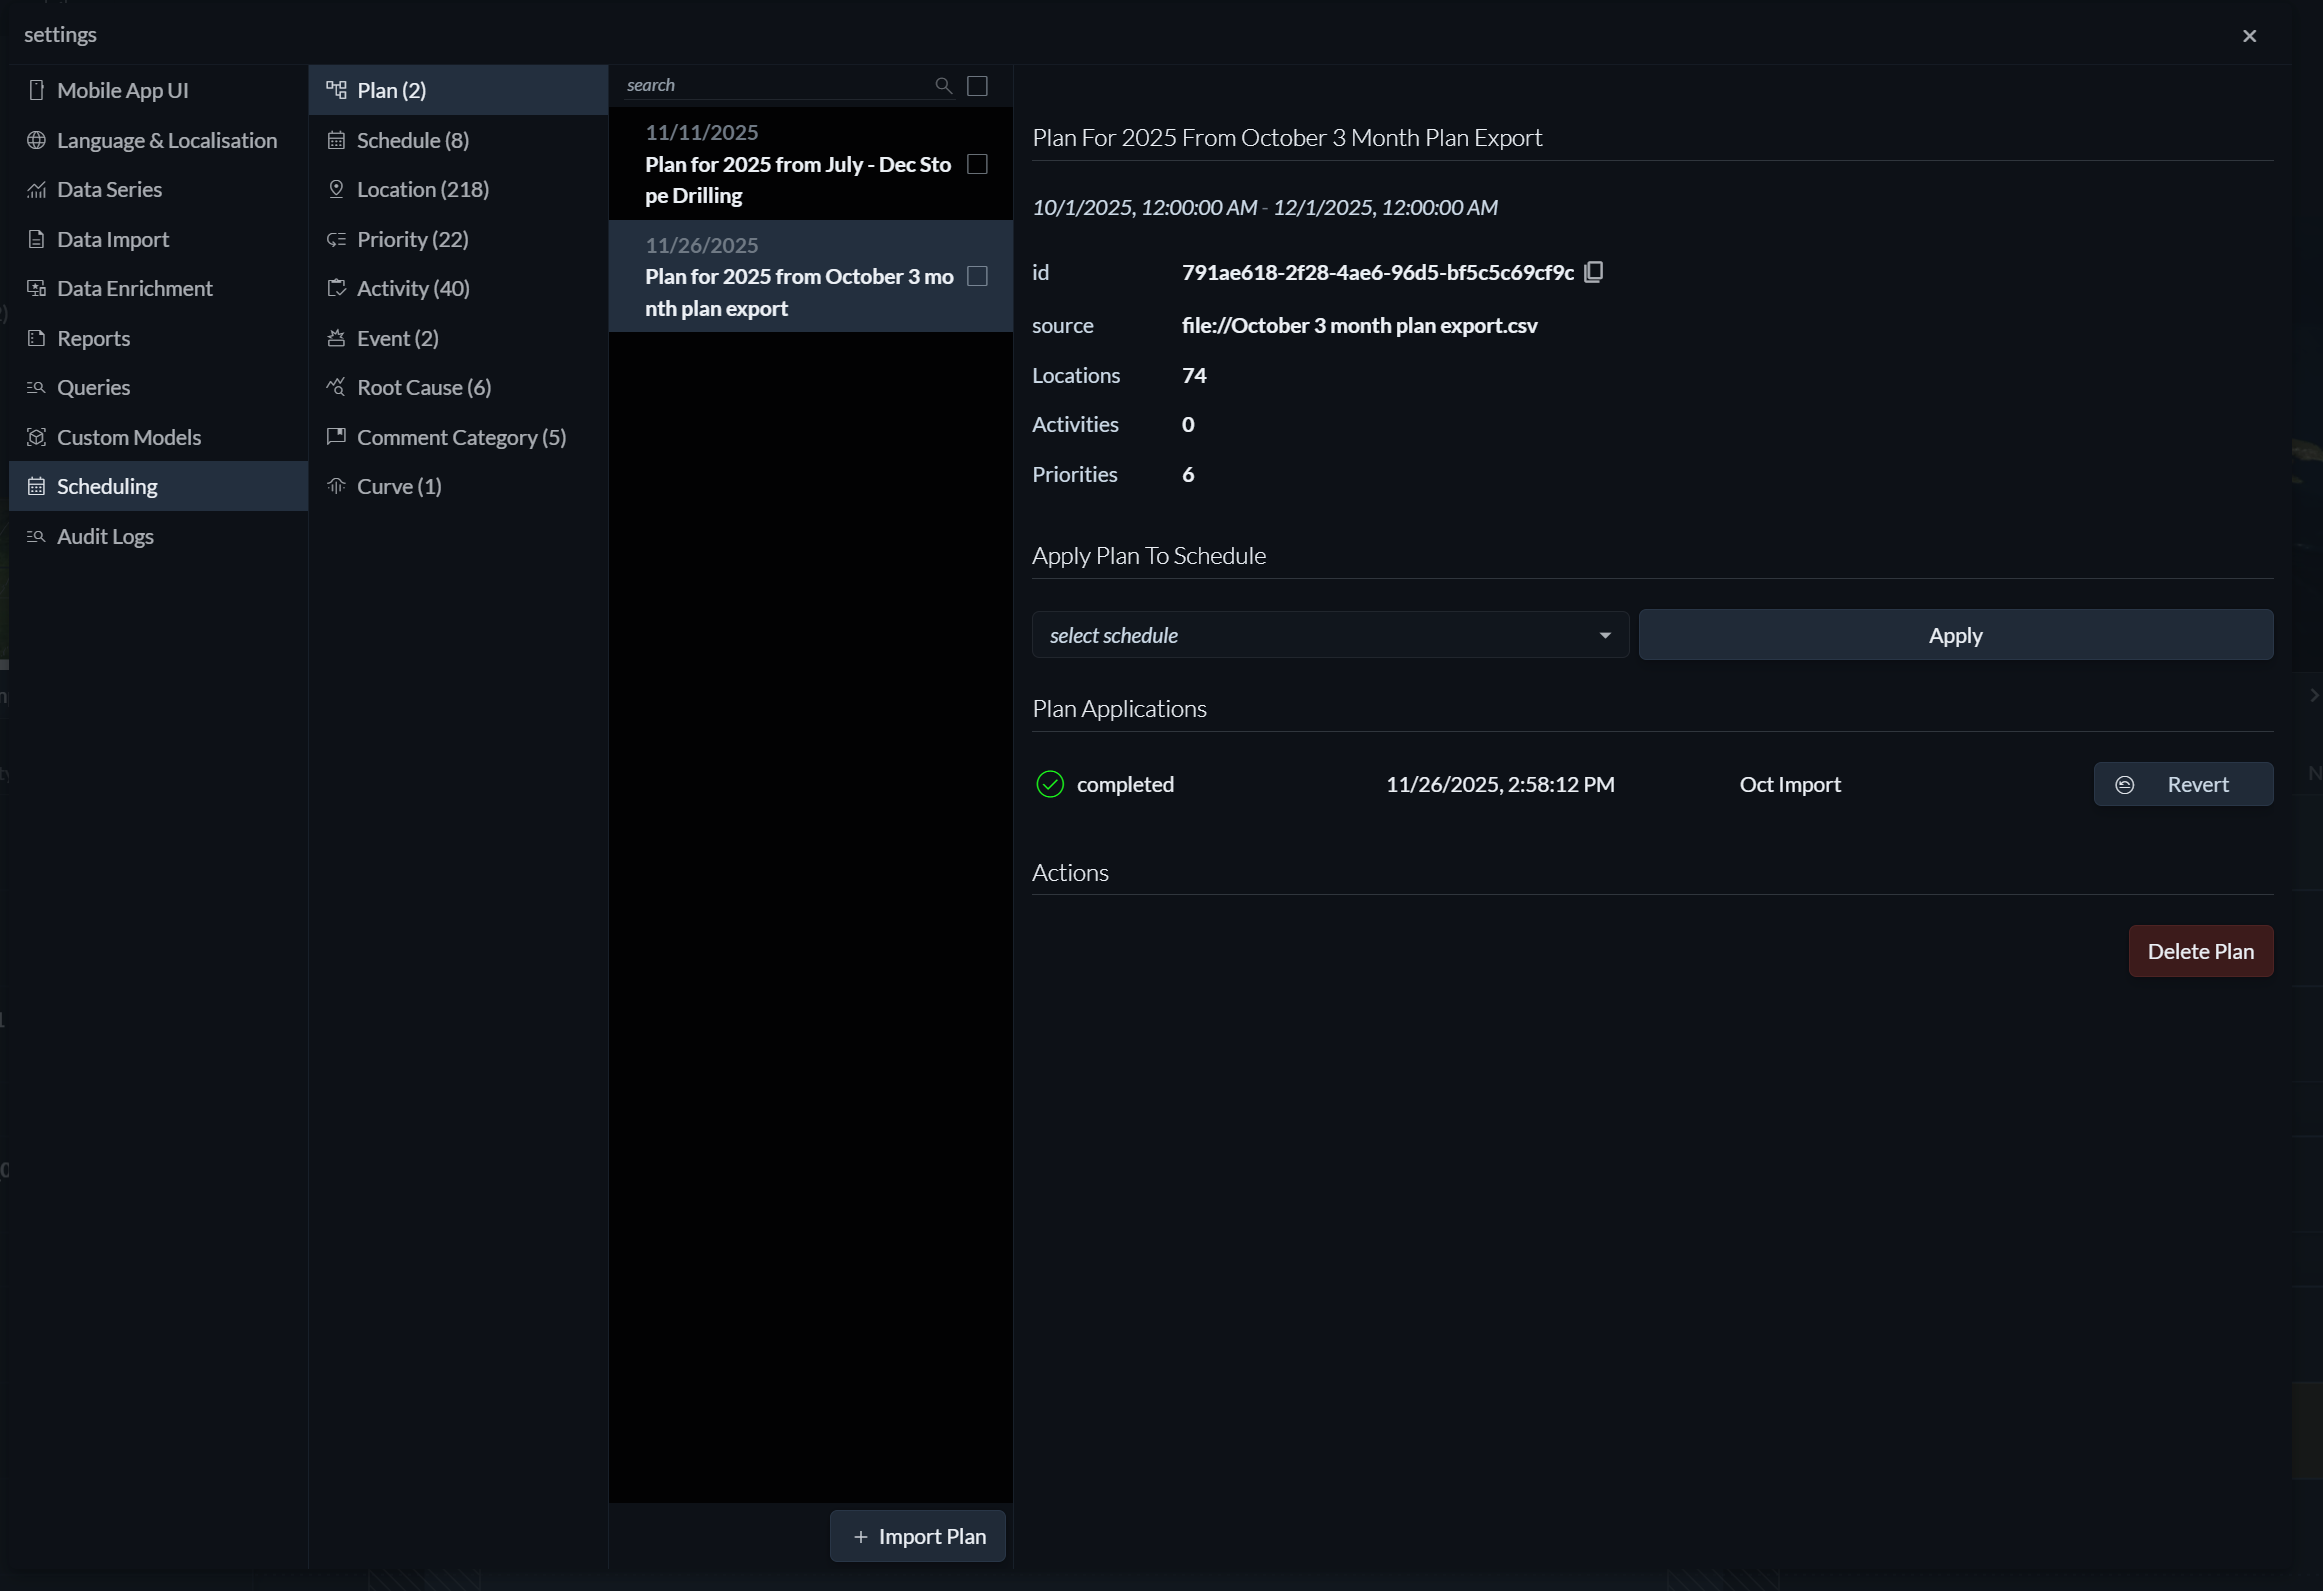
Once the import wizard is complete, Hivekit creates a plan based on your configuration. A plan is an abstract representation of activities, locations, targets, priorities, tracks, and relationships that still need to be calculated and instantiated.
To turn a plan into executable work, it must be applied to a schedule. You can apply a plan either to an existing schedule or to a newly created, empty schedule. When applying a plan to an existing schedule, Hivekit reuses compatible tracks and locations where possible and creates any missing ones as needed.
To apply a plan, select the target schedule and click Apply. If the result does not meet your expectations, the application can be reverted.
After the plan has been applied, close the settings window and navigate to the schedule. You will see newly created tasks, target overlays represented as non-interactive backgrounds, and any defined cycles reflected in the schedule layout.
Reverting a plan application
To revert a previously applied plan, click the Revert button next to the plan application. Reverting removes everything that was created as part of that application, including activities, locations, tracks, and tasks, regardless of whether they were modified afterward.
Use this option with care, as reverting permanently removes all elements introduced by the plan application.