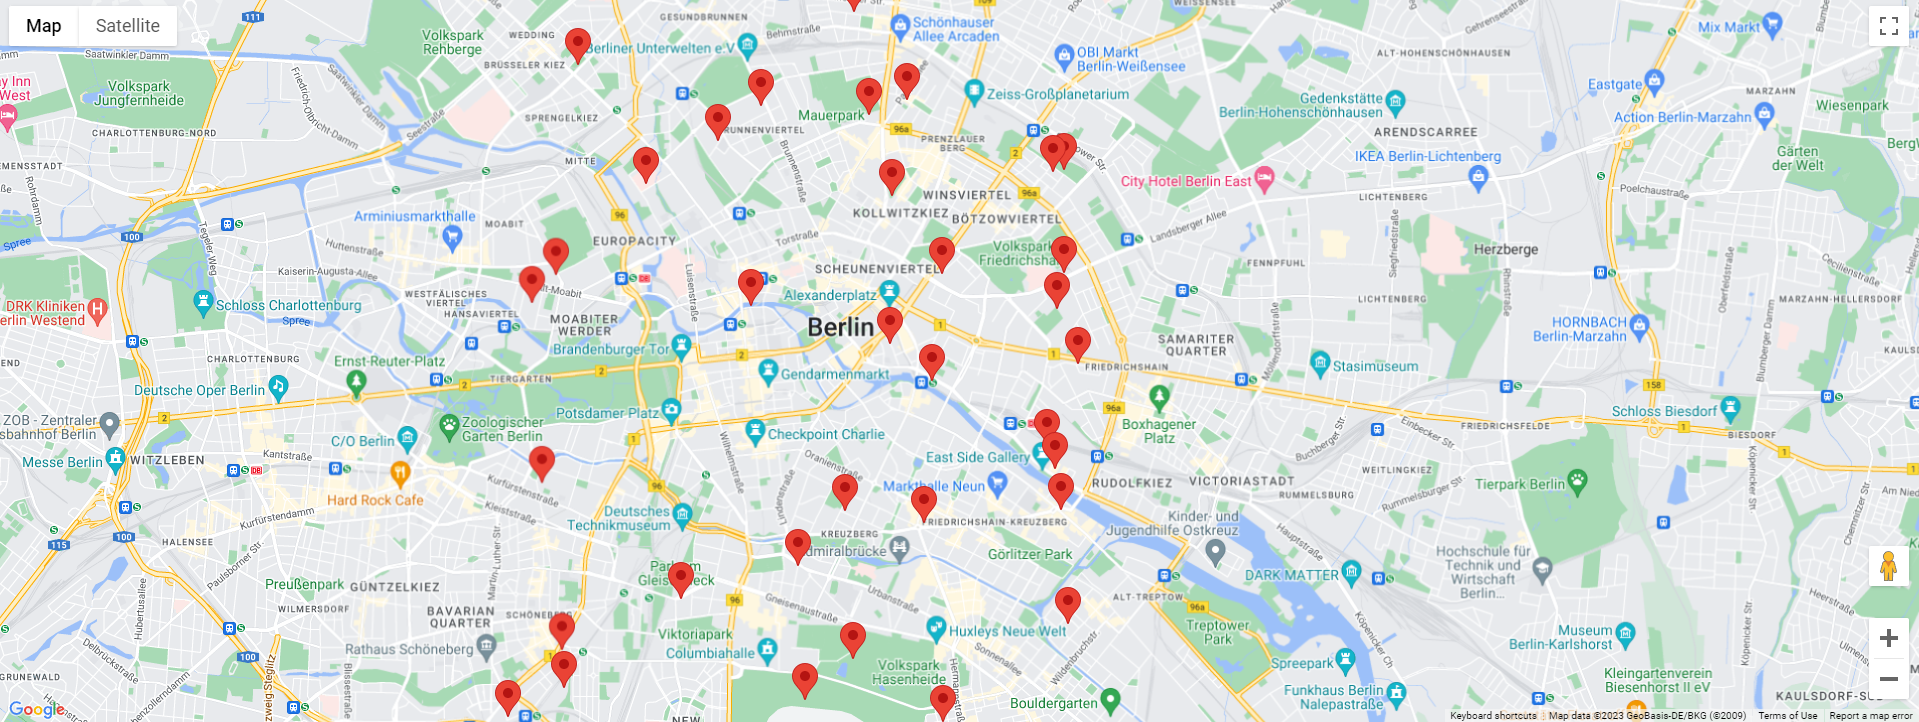
Google Maps
In this tutorial, we will show you how to display and update Hivekit Objects as Markers on a Google Map.
We will cover the following steps:
- Create the HTML file
- Connect to Hivekit
- Create a Map
- Create a Realm
- Subscribe to Objects)
- Create and update Google Maps markers
You can find the full code for this example on Github.
1. Create the HTML file
First, create an HTML file that will contain the map container. Add the following code in the body section of the file:
<div id="map-container"></div>
<script src="https://maps.googleapis.com/maps/api/js?key=YOUR-API-KEY"></script>
<script type="module" src="main.js"></script>
Here, we're loading both the Google Maps JS library and our - yet to be written - code as a module.
2. Connect to Hivekit
Create a main.js file and start by importing the HiveScript JS SDK by adding
import HivekitClient from 'https://cdn.jsdelivr.net/npm/@hivekit/client-js@latest/dist/hivekit.js'
at the top. To authenticate with Hivekit, you'll need an API token. Create one in the account dashboard, then connect and authenticate with it:
const client = new HivekitClient();
await client.connect('wss://hivekit.io/api/v1/ws');
await client.authenticate('<YOUR API TOKEN>');
If everything went well, the value of client.connectionStatus should now be 'authenticated'.
3. Create a Google Map Instance
Now that we are connected to Hivekit, it's time to create our map. We can do so using:
// we've previously created the map container in index.
const map = new google.maps.Map(document.getElementById('map-container'), { html
    zoom: 14,
    center: { // The initial center of the map
        lat: 52.52342348479236,
        lng: 13.39661463291715
    }
});
4. Create a Realm
Everything in Hivekit is scoped to a Realm - which represents a physical space within which something happens.
You create a realm by calling:
const realmId = 'google-maps-tutorial'
await client.realm.create(realmId)
and retrieve it by calling:
const realm = await client.realm.get(realmId);
... but there's a catch. If the realm you want to create already exists, client.realm.create will throw an error. To catch it, it might make sense to wrap the realm.create in a try/catch block, like so:
try {
    await client.realm.create(realmId)
} catch (e) {
    if (e.code === 409) {
        //realm already exists
    }
}
5. Subscribe to Objects
Next, we'll subscribe to a realmtime feed of objects within our realm. But - in order to reduce our user's bandwith and increase performance - we'll only subscribe to objects that are currently visible on the map.
We can figure out what's currently visible by calling map.getBounds().toJSON() which returns an objects with north, east, west and south coordinates for the current viewport.
There's a problem though: the map bounds are only available once the map is loaded. Unfortunately, there isn't an initial load event for the map - only a tilesloaded event which emits whenever all map tiles have been loaded.
In order to create our subscription we'll be using this tilesloaded event, combined with a flag that ensures we're only creating the subscription once:
let isInitialised = false;
let mapSubscription;
map.addListener('tilesloaded', async () => {
    if (isInitialised) {
        return;
    }
    isInitialised = true;
    mapSubscription = await realm.object.subscribe({
        //get the initials state straight away
        executeImmediately: true,
        // limit updates to the bounds of the map
        shape: map.getBounds().toJSON()
    })

    mapSubscription.on('update', updateMapMarkers)
});
mapSubscription is now a subscription for all objects in our realm within the current map bounds. But what happens if the user zooms or pans the map? If the map bounds change, we need to update our subscription as well.
The good news is, that Google Maps emits a bounds_changed event whenever the map's bounds are updated. The bad news is, that it does so for every frame - e.g. 60 times a second. Updating our subscription this frequently doesn't make much sense - so we'll throttle it to a maximum of two updates per second:
let mapSubscriptionUpdateScheduled = false
map.addListener('bounds_changed', () => {
    if (!mapSubscriptionUpdateScheduled) {
        mapSubscriptionUpdateScheduled = true;
        setTimeout(updateMapSubscription, 500);
    }
});

function updateMapSubscription() {
    mapSubscriptionUpdateScheduled = false;
    mapSubscription.update({
        shape: map.getBounds().toJSON()
    })
}
6. Create Google Maps Markers
Finally, it's time to create some Google Maps markers. Previously, we've specified updateMapMarkers as the callback in mapSubscription.on('update', updateMapMarkers).
This callback function receives two arguments:
fullStateis a map of object id to object data for all objects that currently match the subscription.changesis an object withadded,updatedandremovedproperties.
The second argument is what we need here since it gives us an easy way to keep the markers and subscription in sync:
function updateMapMarkers(fullState, changes) {
    // add new markers
    for (let [id, obj] of Object.entries(changes.added)) {
        markers[id] = new google.maps.Marker({
            position: new google.maps.LatLng(obj.location.latitude, obj.location.longitude),
            map: map,
            title: obj.label,
        });
    }

    // update existing markers
    for (let [id, obj] of Object.entries(changes.updated)) {
        markers[id].setPosition(new google.maps.LatLng(obj.location.latitude, obj.location.longitude))
    }

    // delete removed markers
    for (let id in changes.removed) {
        markers[id].setMap(null);
        delete markers[id];
    }
}
7. (optional) Create some test objects
And that's it. Well - sort of. Our maps instance, Hivekit connection and subscription is all set up, but there aren't any objects yet to display. To create some testobjects, run the following code after your realm is created:
function createTestObjects(realm) {
    const centerLat = 52.52342348479236;
    const centerLng = 13.39661463291715

    for (let i = 0; i < 50; i++) {
        realm.object.set('test_object_' + i, {
            location: {
                latitude: centerLat + (Math.random() - 0.5) / 10,
                longitude: centerLng + (Math.random() - 0.5) / 10
            }
        })
    }
}